
Why Is My Gel Nail Polish Sticky?
You’ve just spent 45 minutes applying what you thought would be a flawless gel manicure, only to find your gel polish is still sticky. You start wondering, Did I mess up the curing? Is the lamp broken? Is it supposed to feel this way? You're not alone.
In the nail industry, one of the most common questions we hear is: Why is my gel polish sticky? That mysterious stickiness can be confusing, especially when you think you've done everything right.
Let’s examine the science (and myths) behind the sticky layer and help you understand what’s actually happening.
That Sticky Feeling Is (Usually) Normal
Here’s the part that surprises most people: gel nails are sticky on purpose, at least initially. That sticky residue is technically called the inhibition layer, a normal part of the curing process.
When you apply gel polish and cure it under a UV or LED lamp, a thin tacky layer remains on top. This layer helps the next layer of gel or top coat adhere properly. It’s not a mistake. It’s chemistry.
Think of it like glue that hasn't fully dried; it’s not finished until you seal it with a top coat and remove the sticky layer afterward. So if you ask, “Why are my gel nails sticky?”, the first answer is: because they’re supposed to be.
But What If They’re Still Sticky Even After Curing?
Now this is a whole different issue. If your gel nail polish feels sticky after curing, especially if it’s soft, slippery, or seems like it didn’t harden properly, you might be dealing with uncured gel.
Here are the most common reasons why your gel might remain sticky even after the recommended time in the lamp:
1. You're Not Using the Right Lamp for Your Gel
Not all lamps are created equal. Some gels require a UV lamp, others need an LED lamp, and some are made to work with both (UV or LED). Using the wrong type of curing lamp can result in incomplete curing, leaving behind sticky gel polish that never sets.
Check the manufacturer’s instructions for your specific gel. Using a lamp that doesn't match can leave a layer of uncured gel; you’ll feel it immediately.
2. Your Layers Are Too Thick
Applying gel polish too thickly is a classic mistake. Thick coats don’t cure evenly, even under a high-powered UV or LED light. Always apply thin layers to ensure each coat cures all the way through.
Quick tip: When in doubt, err on the side of less. You can always build it up.
3. You Didn’t Fully Cure It
Even with the right lamp, you need to cure for the recommended amount of time. Rushing the process often leads to tacky or sticky gel nails. A proper curing routine is everything.
Double-check the curing time on your gel polish and give it that full cycle. Sometimes, we’re tempted to pull our hand out early (especially if you’re multitasking), but incomplete curing will leave your polish coat soft and sticky even after you think it’s done.
That Annoying Sticky Top Coat
I'm still wondering: Why is my gel top coat sticky? You're not crazy; it’s not always your fault.
Here are a few reasons that the final gel top layer can still feel gooey:
-
You're using a top coat meant to be wiped (and forgetting to wipe the top coat with a lint-free wipe and isopropyl alcohol).
-
You applied a non-wipe top coat but used the wrong lamp or didn’t cure long enough.
-
You’re mixing products from different gel systems (base coat, color, and top coat), which affects their chemical reactions.
Sometimes, the problem is the product itself. Different brands have different formulations, and they do not all work well together.
How to Fix Sticky Gel Nails the Right Way
If you’ve got sticky gel polish and you’re certain it’s cured, here's how to take care of it:
Use Isopropyl Alcohol
A simple wipe with isopropyl alcohol on a lint-free wipe will remove that sticky residue from gel polish. This method is the gold standard for finishing off cured gel.
Never Use Regular Polish Remover
If you’re tempted to reach for nail polish remover, don’t. Polish remover is designed to break down gel, not just remove the tacky layer; it’ll start damaging your nails.
Rinse Your Nails (Only If Recommended)
Some people swear by a quick rinse after curing, but only do this if your specific gel system allows it. Otherwise, stick with alcohol.
A Few Other Things to Keep in Mind
-
Your application process matters. Prepping the nail surface, applying a base coat, and curing each layer correctly builds a strong foundation.
-
Remember your environment. Cold rooms or humid air can sometimes affect the gel’s ability to fully cure.
-
Make sure your lamp is still effective. LED lamps and UV lamps lose strength over time. If you’ve been using the same one for years, it might be time to upgrade.
What About Sticky Inhibition Layer and Nail Art?
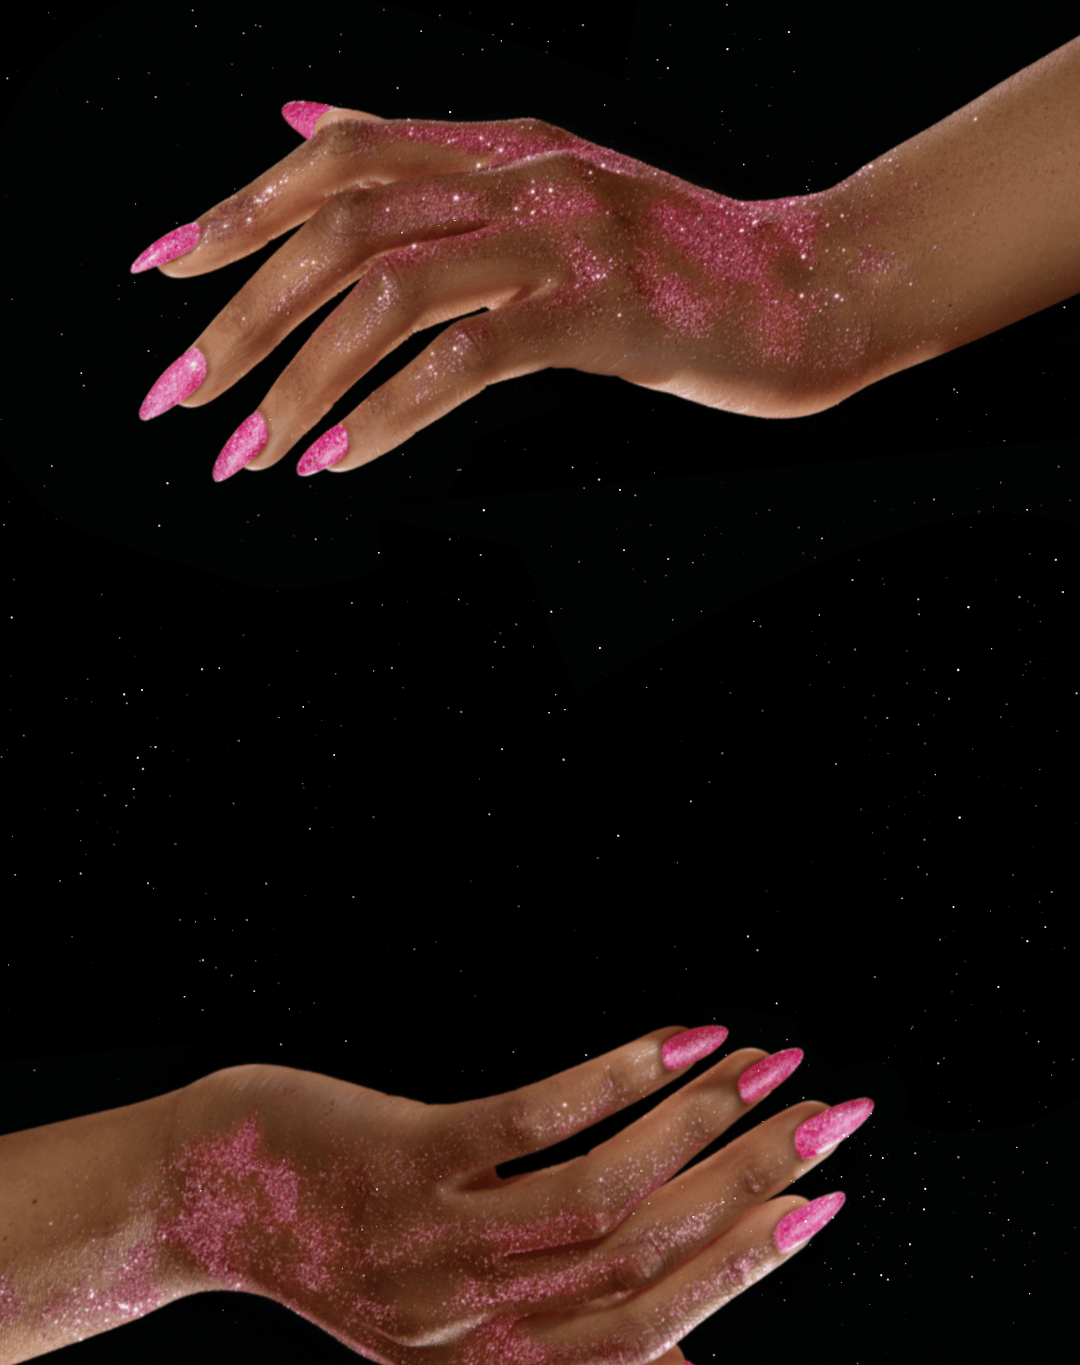
If you’re into nail art, that inhibition layer can actually help. It gives texture and grip for foil, chrome powder, or pigment dust. Just don’t forget to seal it all in. A strong top coat is essential, and remember to wipe it down after.
Final Thoughts: Is It Normal for Gel to Be Sticky?
To bring it all together, it’s normal for gel to feel tacky before you finish it properly. That sticky inhibition layer is part of the process. But sticky after curing? That’s your signal to take a closer look at your curing lamp, your application process, or the specific gel you're using.
And if you're ever in doubt, don’t hesitate to ask a nail technician for advice. Even seasoned pros face issues when experimenting with different brands or new gel systems.


