
The Ultimate Guide to Curing Gel Polish
You’ve just finished applying that perfect shade of gel polish, but now comes the most crucial part: the curing. If you’ve ever asked yourself, “Did I cure that long enough?” or “Can you over-cure gel polish?”, it’s completely normal. The art of curing gel polish isn’t just about timing; it’s about knowing your tools, products, and nail type.
As a nail tech, I’ve seen my fair share of gel polish mishaps. Lifting, peeling, and dull finishes, most of the time, are not related to the color you chose but to how well you cure each layer of gel.
Let’s get into this ultimate guide to curing gel polish, so you can stop second-guessing and start getting that long-lasting, high-shine gel manicure every single time.
What Is Curing and Why Does It Matter?
At its core, curing refers to hardening gel polish using a UV or LED lamp. This process activates the molecules in the gel, causing it to transition from a liquid to a solid.
Think of gel polish as a type of nail polish that needs a little extra help to dry. Unlike regular nail polish, which air-dries (and smudges easily), gel nail polish stays put once cured under a UV or LED light.
The gel polish won’t adhere to the nail plate without proper curing. It may feel dry on the surface, but without a proper cure, it will still be soft underneath, ready to peel, bubble, or worse, trap bacteria. To achieve the maximum longevity of your gel polish, it is essential to understand the entire curing process.
How Long to Cure Gel Polish
Let’s answer the golden question:
-
UV lamps typically require 2 minutes per layer
-
LED lamps usually take 60 seconds
But these times vary depending on:
-
The brand of gel polish
-
The wattage of your nail lamp (e.g., a 36-watt UV nail lamp will differ from a 24W one)
-
How thick your layer of gel is
A good rule of thumb? Always apply gel polish in thin coats and follow the manufacturer’s instructions. Overloading the nail plate with thick layers can prevent proper curing and cause the polish to lift.
Can You Over Cure Gel Polish?
Short answer: yes, but it’s rare.
If you’re using a UV lamp that’s too strong or curing for too long, you can over-polymerize the gel polish. This leads to brittleness, discoloration, or a dull finish.
But here’s the real concern: over-curing isn’t as common as under-curing. If your gel polish is not drying correctly, you’re more likely not curing it enough or applying layers that are too thick.
Want to test if your gel is adequately cured? Gently tap the surface. If it feels tacky, that’s normal (that’s the inhibition layer). But if it feels mushy or moves when you press it, keep it under the UV or LED lamp a bit longer.
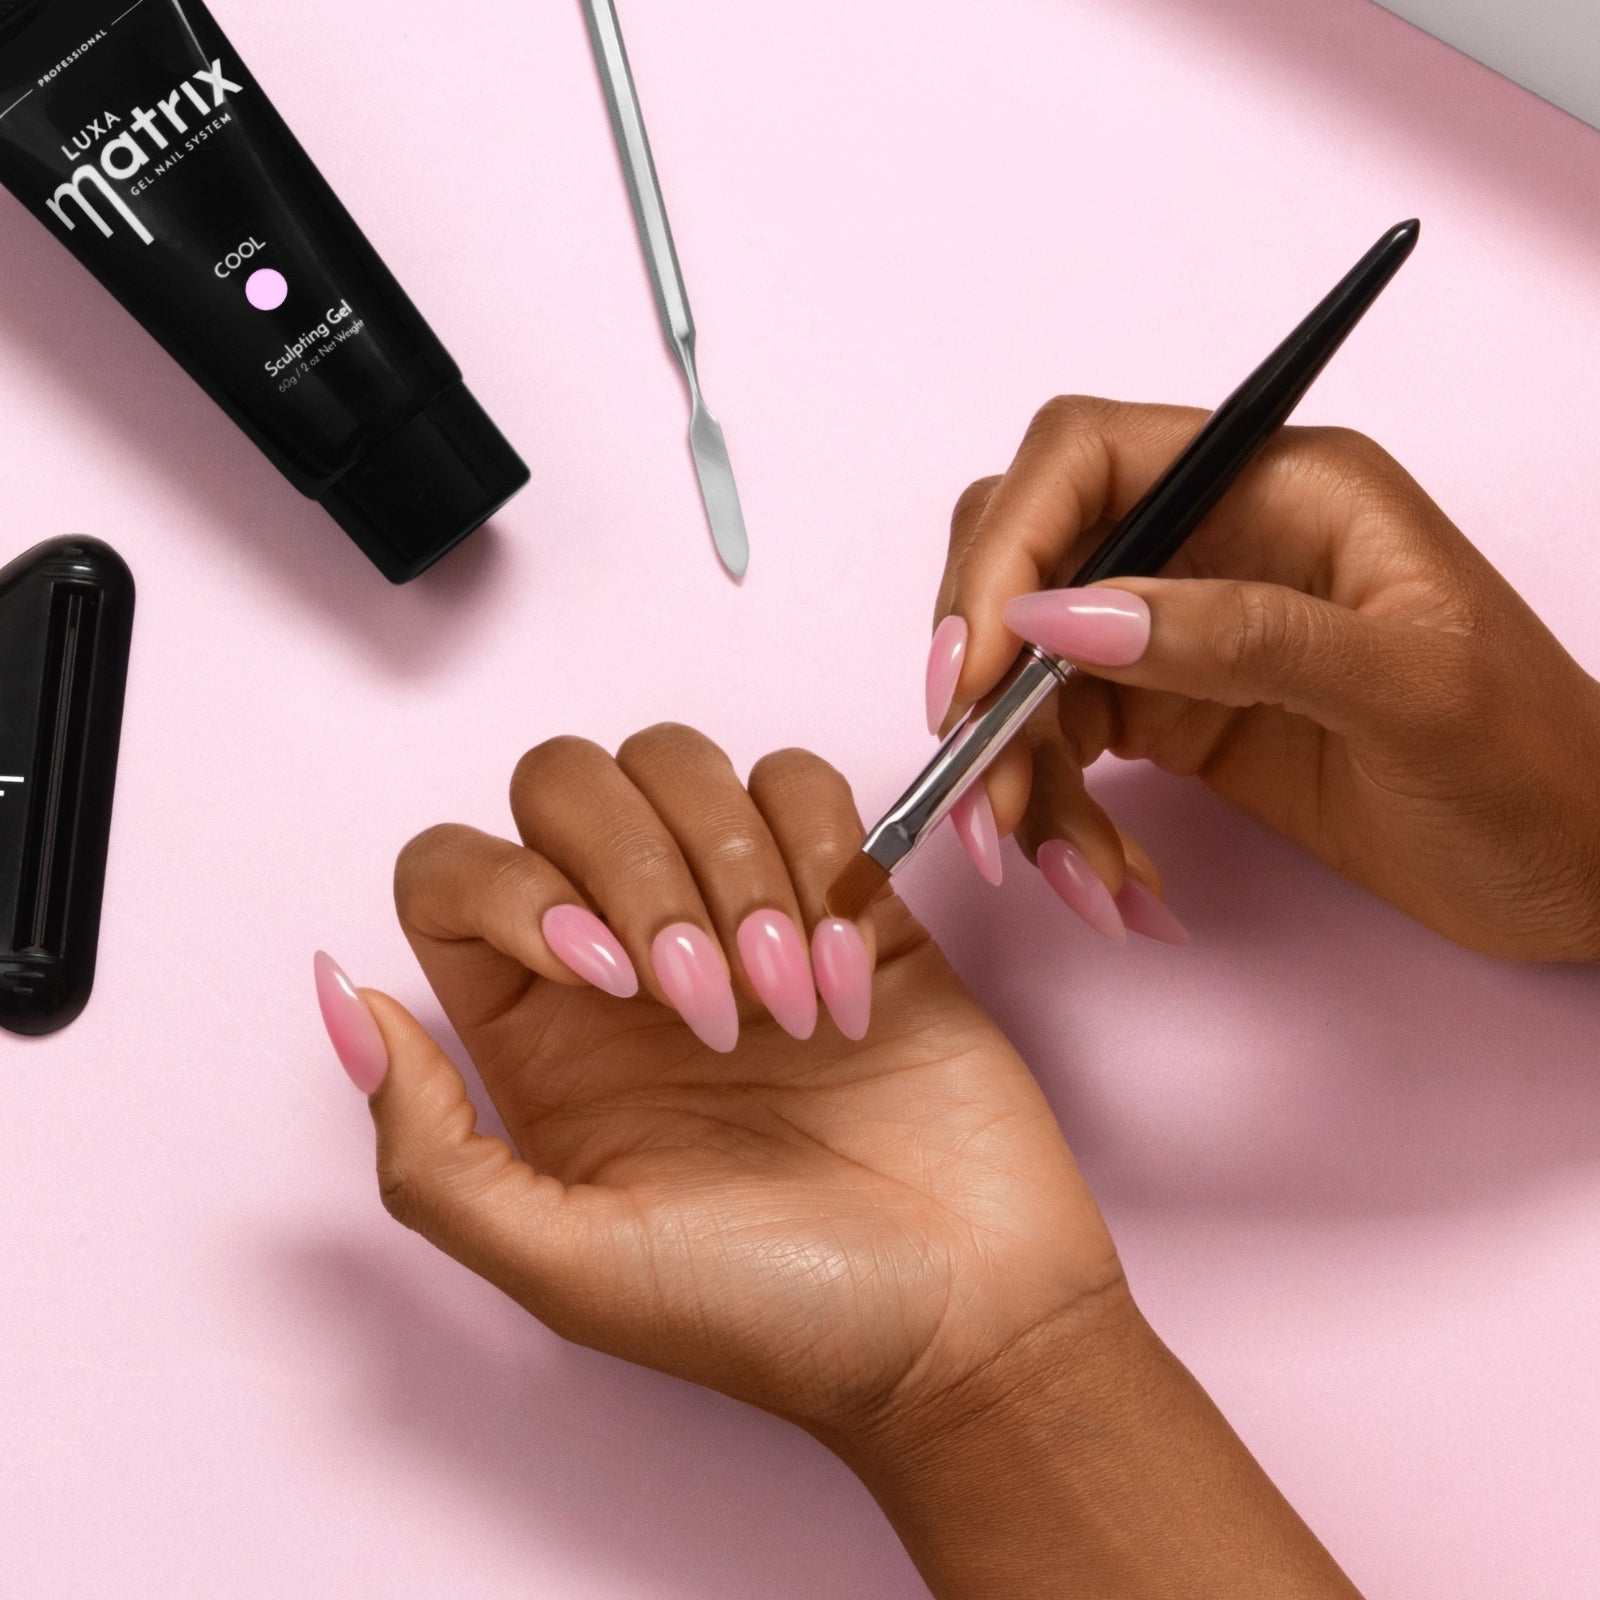
Step-by-Step Guide to Curing Gel Polish
Here’s your no-fail step-by-step guide to cure gel nails like a pro, whether you’re in the salon or doing your nails at home:
-
Prep Your Nail Surface
-
Use a nail file to shape and smooth.
-
Push back cuticles and buff the natural nail lightly to remove shine.
-
Wipe with isopropyl alcohol to remove oil and dust.
-
Apply a Base Coat
-
Use a gel base coat thinly.
-
Cure under a UV or LED light per product instructions.
-
This helps the gel polish adhere properly to the nail plate.
-
Apply Gel Polish in Thin Layers
-
Each coat of nail polish should be even and thin.
-
Cure after each layer, don’t rush.
-
Ensure the polish is applied directly to the nail bed and doesn’t flood the cuticles.
-
Apply Top Coat and Final Cure
-
Seal it all in with a top coat.
-
Don’t forget to cap the edge of your nail.
-
Cure fully and wipe off the sticky layer (unless it’s no-wipe).
Tips for Better Curing Results
Keep these tips in mind:
-
Always file your nails before starting. It helps with the adhesion of the gel.
-
Use a nail lamp with the right wattage. A gel polish with a UV lamp may need longer than one with an LED lamp.
-
Keep your nails flat under the UV light to avoid uneven curing.
-
Don’t skip the base coat or the top coat. Each layer of gel topcoat adds to the structure and shine.
-
Your nail care routine is essential. Clean, dry nails help the gel polish adhere properly and last.
UV vs LED Lamp: What's Best for You?
There are two methods for drying gel: UV and LED. Both work by curing the molecules in the gel, but they differ in speed and technology.
-
UV or LED light: LED is faster and more energy-efficient.
-
Gel polish with an LED lamp: Usually cures in under a minute.
-
Polish with a UV lamp: More versatile, especially with older brands of gel polish.
So, which should you choose? It depends on the type of nail polish you’re using and your routine. If you’re a pro or frequently do gel polish at home, LED might be a better long-term investment.
Final Thoughts: The Secret to Long-Lasting Gel
Your curing time is just as important as your color. It’s not just about looking good, it’s about lasting wear, proper nail care, and keeping your manicure damage-free.
If you’ve struggled with lifting or bubbling, don’t blame the gel polish just yet. Ask yourself: Did I prep correctly? Did I cure long enough?
Drying gel nail polish might sound simple, but there’s a science to it. When you take the time to follow a proper guide to curing gel, the results speak for themselves.
So next time you sit down to do a gel manicure, take a breath, grab your favorite nail lamp, and remember: curing gel isn’t just a step, it’s the foundation of a flawless finish.


