
How to Use Blooming Gel Polish
If you've ever watched blooming gel work its magic in real time, you know that instant when the colors start to bloom, spreading out into swirls, petals, or smoke-like tendrils. It’s a little hypnotizing, isn’t it? The first time I tried it, I didn’t expect such a dramatic transformation from just a few dots of gel, but that’s exactly what makes blooming gel a game-changer in nail art.
Whether you're a seasoned nail artist or someone just dipping their brush into more creative designs, understanding how to use blooming gel opens up a whole new world of expressive possibilities.
In this blog, I’ll break down everything you need to know, from what it is to how to actually get it to work, how you want it to.
What Is Blooming Gel?
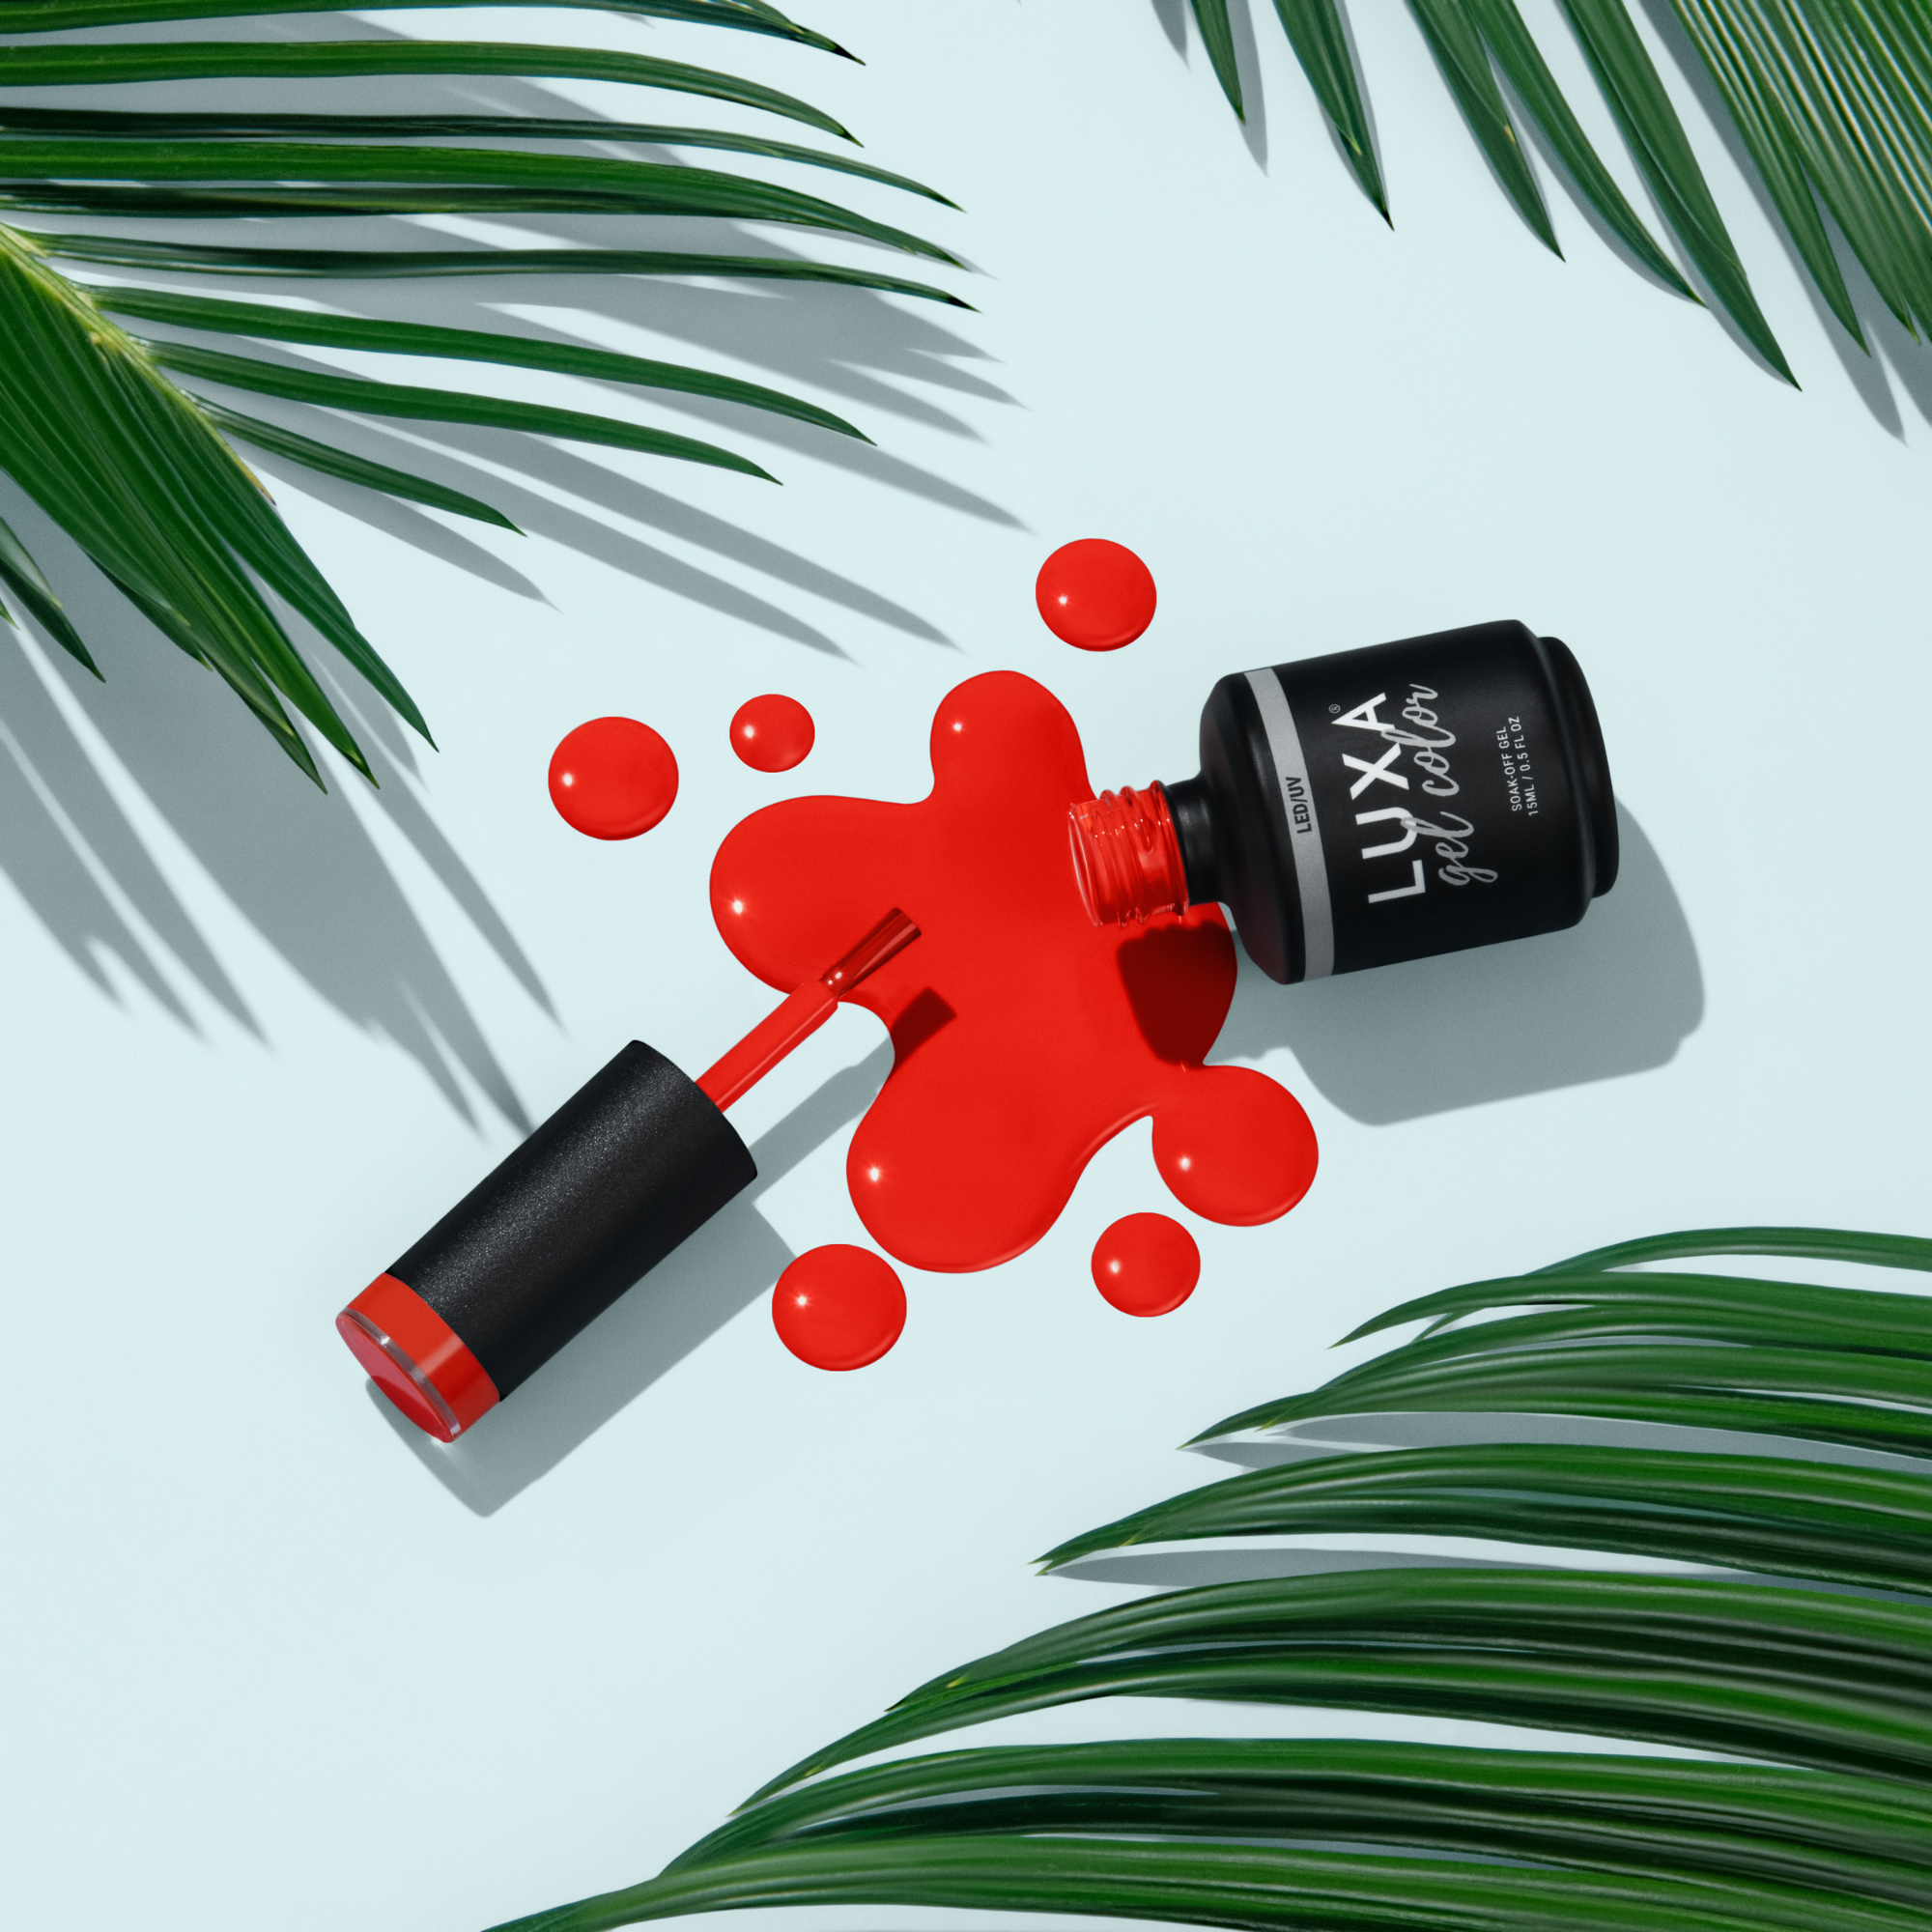
Blooming gel is a thin, translucent gel polish that creates a blooming effect by spreading and diffusing other gel colors layered on top of it. In short, it lets your art move.
Technically speaking, blooming gel is a thin viscosity product that stays uncured when you start your design, allowing the pigments you layer over it to disperse and blend. This creates that watercolor-like fade or aura, which you’ve probably seen in aura nails, marble nails, or even gradient styles that shift beautifully from one color to the next.
Why Use Blooming Gel?
You might be wondering: What does blooming gel work best for? The answer is: a variety of nail art looks. Think:
-
Marble and stone effects
-
Soft watercolor transitions
-
Smoky or flame-like textures
-
Airbrushed or aura nail styles
It’s perfect for creating custom, organic, and unique designs that set your mani apart from the crowd.
What You’ll Need
Before you dive in, make sure you’ve got the right tools on hand:
-
Blooming gel
-
Base coat
-
Colored gel polish
-
Detail brush or dotting tool
-
UV or LED lamp
-
Top coat
-
Nail file and prep tools
Optional: Builder gel for structure, depending on your base.
How to Use Blooming Gel (Step-by-Step Tutorial)
Let’s walk through how to use blooming gel to create beautiful blooming gel nail art designs.
Step 1: Prep Your Nails
Like any good gel nail application, prep is key. Gently file and shape the nails, push back cuticles, and buff the surface. Cleanse with isopropyl alcohol to remove oils or debris.
Apply a base coat and cure under a UV/lamp for 60 seconds.
Step 2: Apply a Base Color
Choose the gel polish you want as your backdrop and apply 1–2 coats. For a softer bloom, go with a light color like nude or white. For bold designs, black or bright shades add drama.
Cure between each coat for 60 seconds.
Step 3: Apply a Thin Layer of Blooming Gel
Here’s where the magic starts: apply a thin layer of blooming gel, but don’t cure it! The product must remain uncured to do its thing when you add your design.
Step 4: Start Your Design
Apply your desired gel colors directly onto the wet blooming gel using a dotting tool, detail brush, or even the tip of a liner brush. You can create dots, lines, or small strokes; the product will start to bloom immediately.
If you want a smoky marble look, layer multiple colors and lightly drag a brush through them to blend.
Step 5: Let the Bloom Happen
Pause for a moment and let the blooming gel do its thing. The design will spread on its own. Depending on the viscosity of your gel polish, you may need to work quickly. This is where practice (and patience) pay off.
Sometimes, let the blooming gel settle for a few seconds before curing to see how far it spreads.
Step 6: Cure the Blooming Gel
Once you’re happy with the design, it’s time to lock it in. Cure under the lamp for 60 seconds. If needed, you can layer another coat of blooming gel and repeat to build depth or try another layer of blooming gel to refine certain areas.
Step 7: Seal with a Top Coat
Always finish with a top coat to protect your art. A glossy top coat enhances the colors and gives your nail designs that pro finish. Cure one last time and wipe away any tacky layer if needed.
Tips and Tricks from Behind the Table
Over time, I’ve picked up a few tips and tricks that make all the difference:
-
Use fewer colors for a minimalist effect, or go bold with many colors for a playful finish.
-
If you're using builder gel, build structure first and finish with blooming gel on top for extra dimension.
-
For more control, try layering thin coats and using less product to slow the bloom.
-
Don’t overload your brush; this can flood the design and muddy the bloom.
And here’s a trick I learned the hard way: Always test a design on a swatch stick first. Some gel nail polish brands have different flow rates, and you don’t want any surprises halfway through a set.
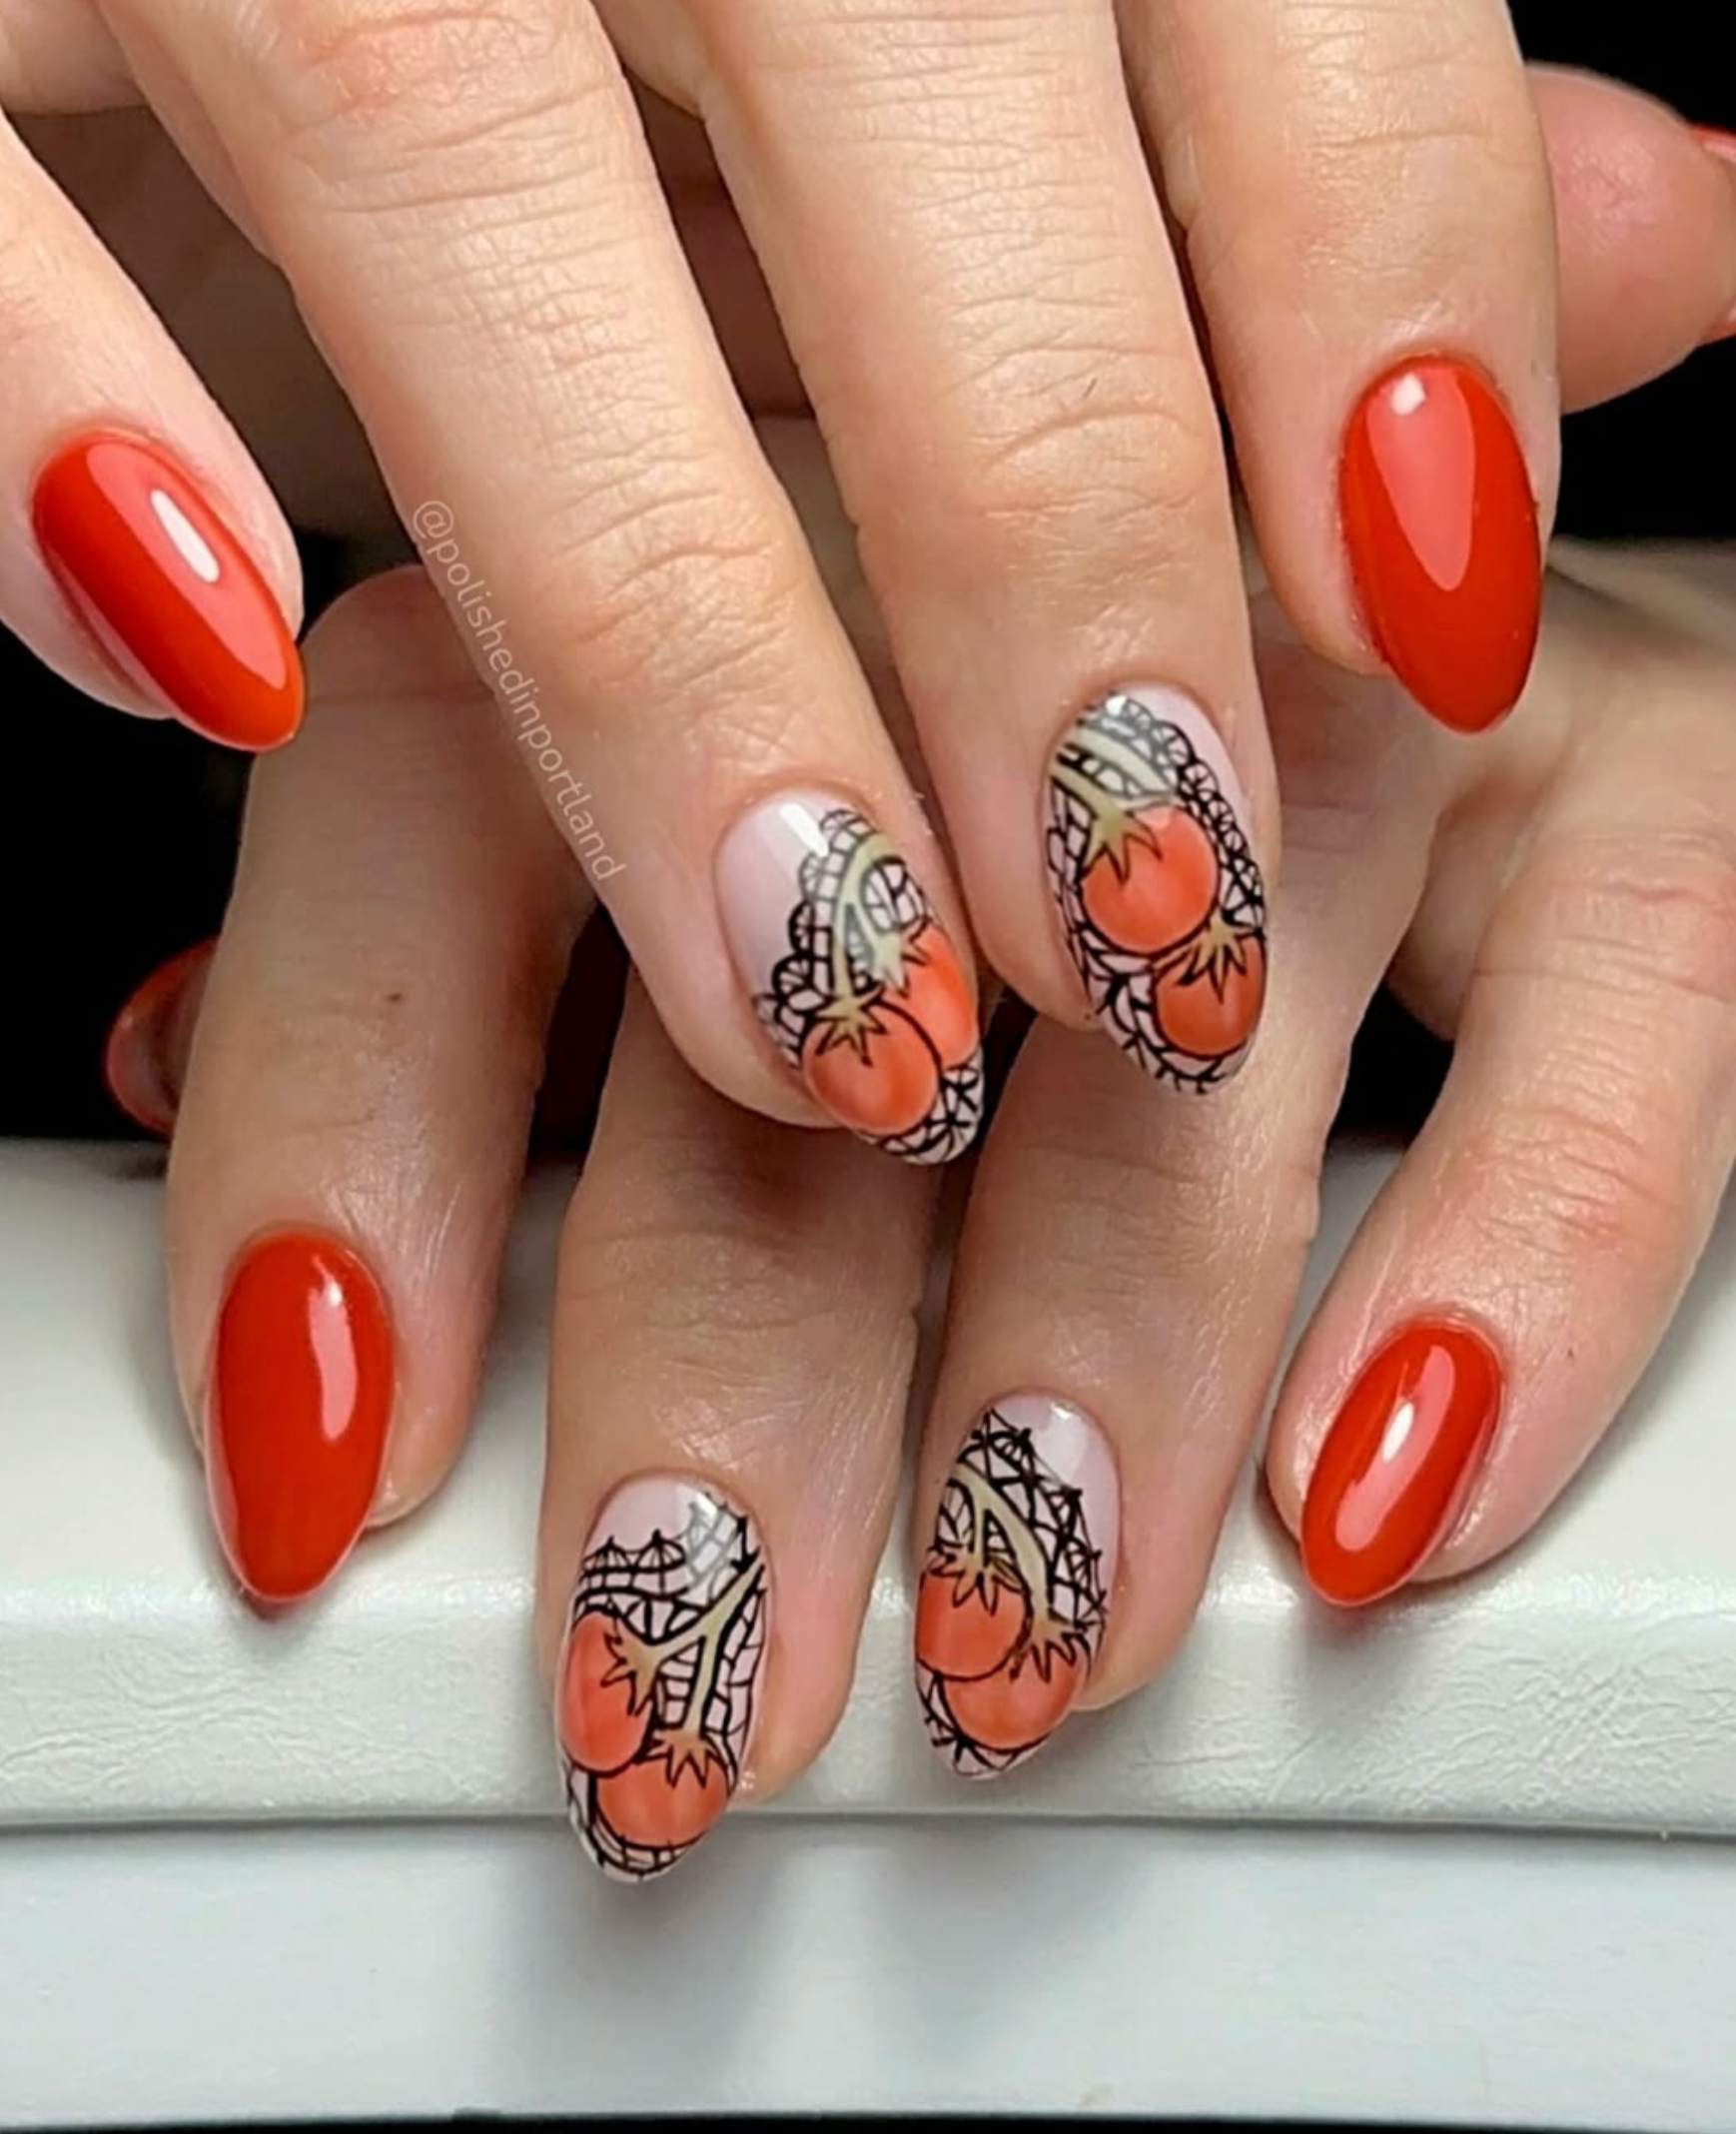
Blooming Gel Nail Art Design Ideas
Need some nail inspo? Here are a few of my favorite blooming gel nails to try out:
-
Blooming Aura Nails – Use a white base, add a single dot of color in the center, and watch it bloom into a soft halo.
-
Floral Blooming Gel Nail Art – Add several dots in a circle, then drag inward with a fine brush to mimic petals.
-
Blooming Marble Nails – Dot on black and white over a neutral base, then swirl with a liner to create elegant stone textures.
Each lets you play with depth, movement, and emotion in your nail art, and no two sets are the same.
Why This Trend Just Keeps Blooming
From editorial shoots to TikTok trends, blooming gel isn’t going anywhere. Its versatility means you can mix it into any gel nail art style, from soft pastels to bold geometrics. Plus, it's beginner-friendly once you understand the layering, cure timing, and how to control your stroke.
Final Thoughts: Let Your Art Bloom
So, what’s the takeaway? Blooming gel polish is one of the most creative, expressive tools in your nail art arsenal. With just a few steps and the right gel, you can create stunning nail art that looks like you spent hours, but only took minutes.


