

How to Apply Gel Nail Polish
Let’s be real for a second, applying gel nail polish looks easy on Instagram, but if you’ve ever ended up with wrinkled polish, polish on your skin, or bubbles under the top coat, you know there’s more to it than meets the eye. And if you’re anything like most nail techs (or even DIY enthusiasts doing their gel nails at home), you’ve probably found yourself asking, “Am I curing this long enough under my UV lamp?” or “Why is my polish lifting after just a few days?”
You’re not alone. Even experienced techs revisit the basics to improve their gel polish application skills. Whether you’re still learning how to use gel nail polish or you’re refining your craft, this guide will walk you through everything. From prep to cure times, with real insights and honest advice.
No fluff, just the facts (plus a few helpful side notes from the trenches). Consider this your guide on how to apply gel like a pro.
Step-by-Step: How to Apply Gel Nail Polish for Flawless Results
1. Nail Prep Is Everything
This is the most overlooked part, but also the most important. Start with clean, dry hands. Use a cuticle pusher to gently remove cuticles, then buff your nails using a nail file. You’re removing shine, not thinning the nail.
Key tips:
-
Avoid soaking the nails before application. Water causes the nail plate to expand, which can cause the polish to lift once it dries and contracts again.
-
Always wipe your nails with 99% isopropyl alcohol to clean your nails thoroughly and remove oils and dust before applying any product.
-
For a clean canvas to work, clip your nails and then shape them.
-
If your client says their gel nails last only a few days, 90% of the time, it usually comes down to a lack of proper nail care during preparation.
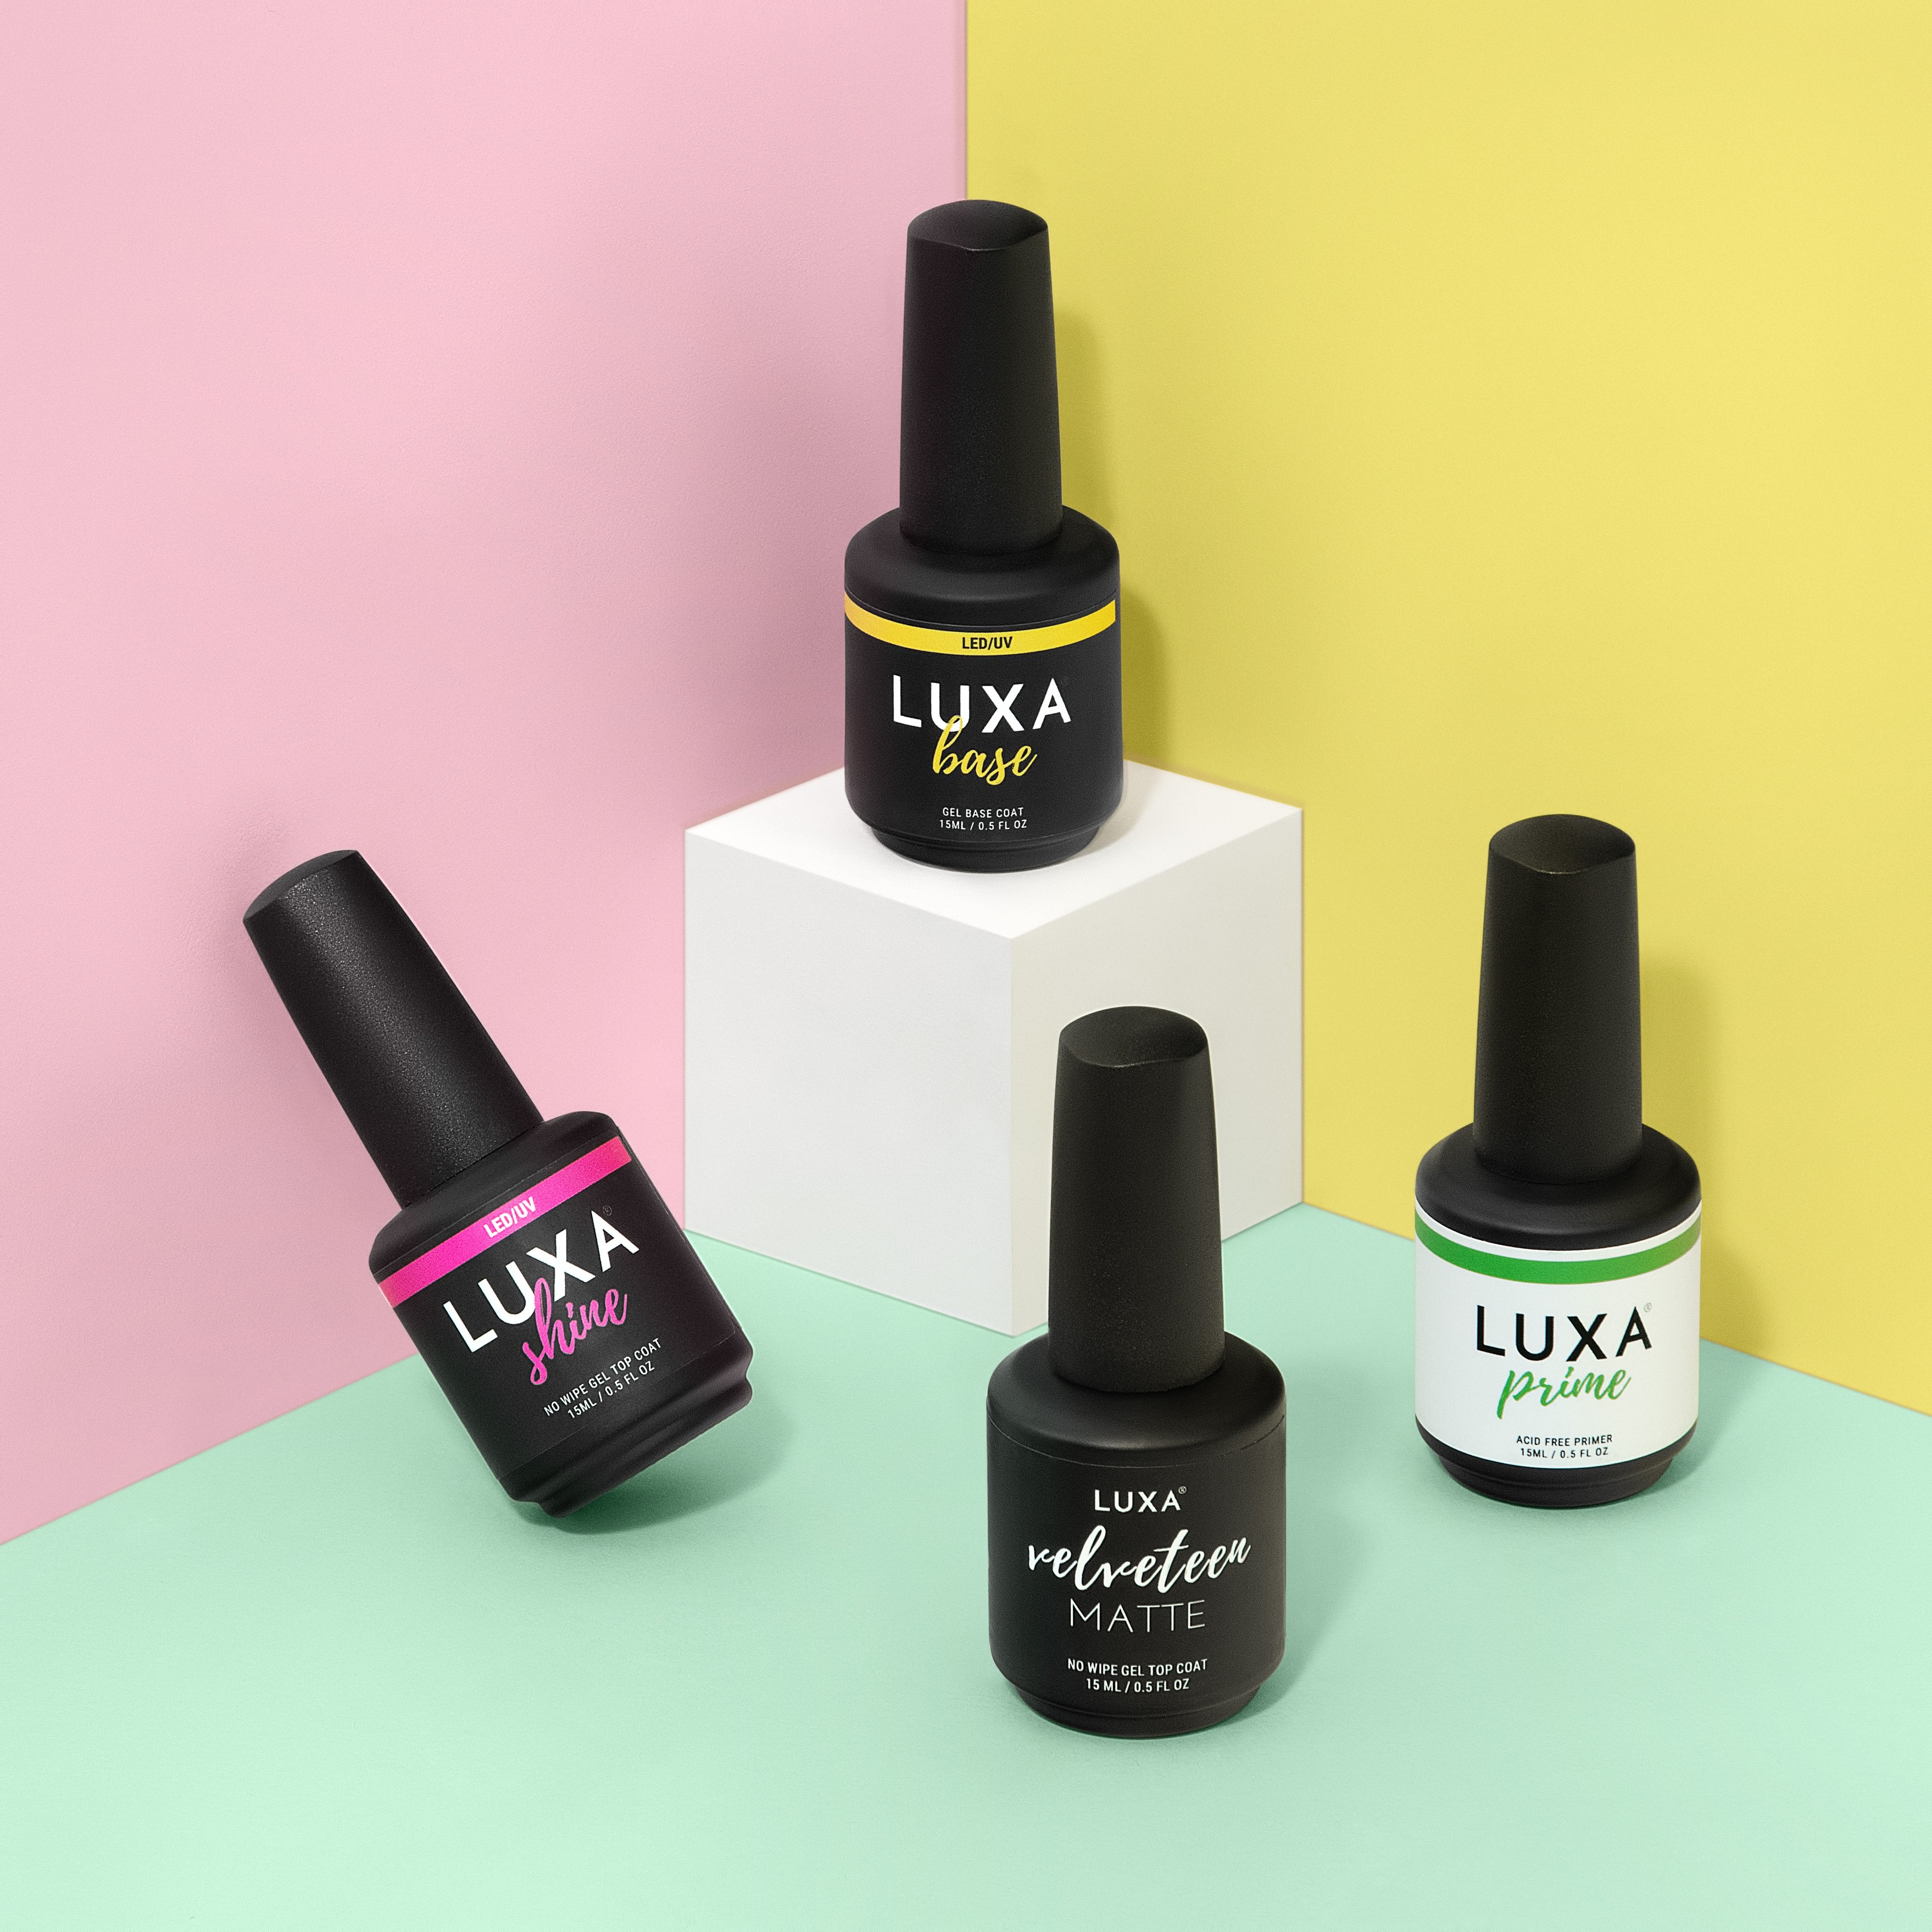
2. Base Coat Magic
Apply a gel base coat in a thin, even layer, making sure to cap the free edge of your nail. Cure the gel polish according to your gel brand’s instructions. For LuxaPolish, this typically takes 60 seconds under an LED lamp, or 2 minutes under a UV lamp or gel nail lamp.
Pro insight: Apply a thin coat; a thick one can wrinkle or pool near the cuticles, which affects the polish's hold and smoothness.
What About Curing Time?
You’ve probably Googled “how long to cure your nails under an LED or UV light” more times than you’d like to admit. Well, it depends.
Your cure time is influenced by:
-
The brand of polish
-
The wattage of your UV/LED lamp
-
The color pigment (darker gel color usually needs more time)
For LuxaPolish gels, a standard 60-second cure under an LED or 2 minutes under a UV lamp usually does the trick. But always check the product label, and don’t forget to cure each layer of polish, even if it “looks” dry. Trust the process, not just your eyes.
3. Applying Gel Polish Like a Boss
Apply the gel polish in thin layers. Don’t worry if the first coat looks sheer; that’s normal. You’ll build coverage with the second layer.
Between coats:
-
Apply one coat at a time, curing each layer of gel polish fully before the next.
-
Keep your strokes even, starting at the center and pulling outward.
-
And please, cap the free edge of your nail again to seal everything in.
If you’re wondering how to apply gel polish perfectly without streaks or bubbles, the answer is simple: go slow and steady. Gently stir or roll the bottle between your hands before use, and let the brush do the work. Don’t overload, keep just enough polish on the brush.
Bonus tip: Float the second coat slightly more than the first to ensure a smooth finish, but only after you’ve achieved a thin layer of gel coat.
4. Top Coat = Your Armor
You’ve made it this far, don’t slack on the top coat. Use a non-wipe or traditional gel top coat depending on your style, and cure fully (60 seconds under your LED light or 2 minutes under your UV light).
If it’s a wipe-off version, cleanse the tacky layer with alcohol for that ultra-clean finish.
This step seals in your color, protects the coat of gel, and gives you that high-gloss, pro-level shine.
What to Avoid: Common Mistakes
Here are a few things that’ll sabotage even the best gel manicure:
-
Skipping prep or rushing it
-
Applying the layer of gel too thickly
-
Under-curing layers
-
Not capping the edge of the nail
-
Using an old or low-quality LED or UV lamp
-
Leaving polish and your cuticle too close can reduce the adhesion of the gel
You’d be surprised how often people blame the polish when it’s really an issue with the application method or tools.
Why the Application Process Matters
You can use the best polish on the market (hi, LuxaPolish), but if your technique isn’t solid, it won’t matter. The polish will lift, chip, or worse….bubble.
Proper application isn’t just about making nails look good. It’s about longevity, client satisfaction, and protecting the surface of your nails. When done right, your sets last longer, look smoother, and require less touch-up time. That’s more time for creativity (and more money in your pocket).
It’s a Process, Not a Shortcut
Like most things in beauty, mastering the at-home gel look takes time. There’s no hack, just solid technique, quality tools, and a little patience.
If this is your first gel mani, that’s totally fine. Everyone starts somewhere. The best thing you can do is to practice with intention. Painted your nails before? Cool. Now learn how to apply gel with care and precision.
Watch how the gel polish moves onto your nails, especially near the sides of the nails. Avoid flooding towards the cuticle without control. And please, always apply cuticle oil after curing to nourish the skin and promote growth.
FAQs
How long do you cure gel polish?
At least 60 seconds under an LED light or 2 minutes under a UV lamp, but darker shades might take longer.
Can I use gel polish without a base coat?
Nope. You’ll need a gel base coat to help the polish adhere and protect the natural nail.
Why is my gel polish peeling off?
Poor prep, too thick of a coat, or under-curing are the most common causes.
How do I avoid bubbles?
Gently roll or stir the bottle instead of shaking it before applying, and always apply a thin layer to avoid trapping air.
How do I remove gel?
For starters, you can’t use nail polish remover. Follow these proper gel polish removal steps to avoid damaging your nails.
-
File off the top coat.
-
Apply cotton soaked in acetone to each nail and wrap with foil. Let it sit for 5-10 minutes.
-
Remove the foil, then lightly scrape the gel color off with an orange wood stick or a cuticle pusher.


